Apr 9, 2023
Configuring and managing directory synchronization by using Azure AD Connect– Implementing and Managing Identity Synchronization with Azure AD
Azure AD Connect has a long history, originally starting as DirSync to support the deployment of Microsoft Business Productivity Online Suite (BPOS) in 2007.
If you are familiar with Microsoft Identity Manager (MIM), you’ll notice a lot of similarities between that and the current Azure AD Connect platform. As you learned in Chapter 3, Azure AD Connect allows you to connect to multiple directory sources and provision those objects to Azure AD.
Installing the synchronization service
The first step to deploying Azure AD Connect is gathering the requirements of your environment, as outlined in Chapter 3. These requirements can impact the prerequisites for deployment (such as additional memory or a standalone SQL Server environment). As part of the planning process, you’ll also want to identify which sign-in method will be employed (password hash synchronization, pass-through authentication, or federation).
EXAM TIP
To perform the express installation, you’ll need an Enterprise Administrator credential to the on-premises Active Directory forest so that the installer can create a service account and delegate the correct permissions. By default, the on-premises service account is created in the CN=Users container and named MSOL_.
You’ll also need an account that has either the Global Administrator or Hybrid Identity Administrator role in Azure AD, which Azure AD Connect will use to create a cloud synchronization service account. By default, the cloud service account is named Sync_.
With that information in hand, it’s time to start deploying Azure AD Connect:
- On the server where Azure AD Connect will be deployed, download the latest version of the Azure AD Connect setup files (https://aka.ms/aad-connect) and launch the installer.
- Agree to the installation terms and select Continue.
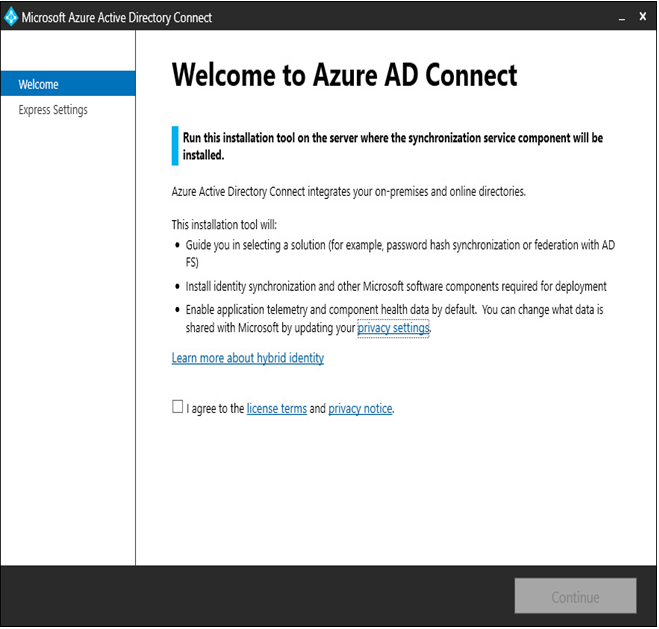
Figure 4.4 – The Azure AD Connect welcome page
- Review the Express Settings page. You can choose Customize if you want to configure Azure AD Connect to use the pass-through or federated authentication methods, group-based filtering, or a custom SQL Server installation. While the sign-in methods and other features can be changed after installation, it is not possible to enable group-based filtering or change the SQL Server location after setup.
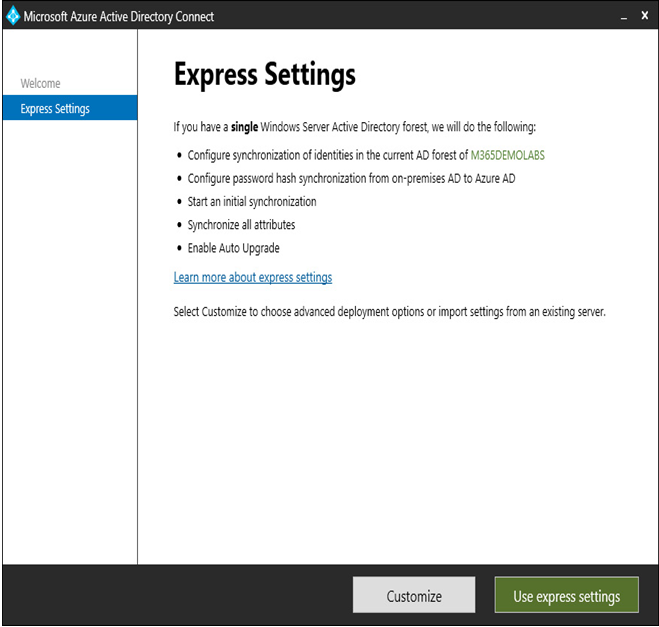
Figure 4.5 – The Azure AD Connect Express Settings page
INSTALLATION NOTES
If you have other domains in your AD forest, they must all be reachable from the Azure AD Connect server or installation will fail. You can perform a custom installation to specify which domains to include in synchronization.
- On the Connect to Azure AD page, enter a credential that has either the Global Administrator or Hybrid Identity Administrator role in Azure AD. Click Next.
- On the Connect to AD DS page, enter an Enterprise Administrator credential and click Next.
- Verify the configuration settings. By default, the Exchange hybrid scenario is not enabled. If you have an on-premises Exchange environment that you will migrate to Microsoft 365, select the Exchange hybrid deployment option to include the Exchange-specific attributes. If you want to perform additional configuration tasks before synchronizing users, clear the Start the synchronization process when configuration completes. checkbox.
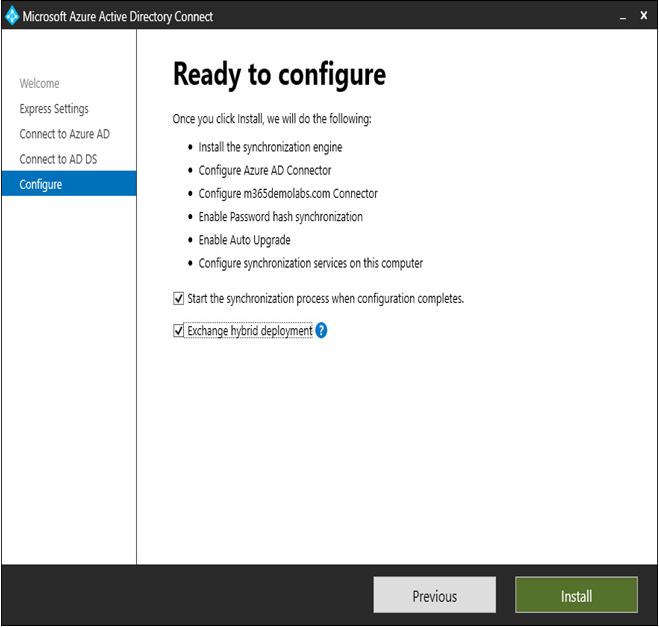
Figure 4.6 – The Azure AD Connect Ready to configure page
- Click Install.
- Review the Configuration complete page and click Exit.
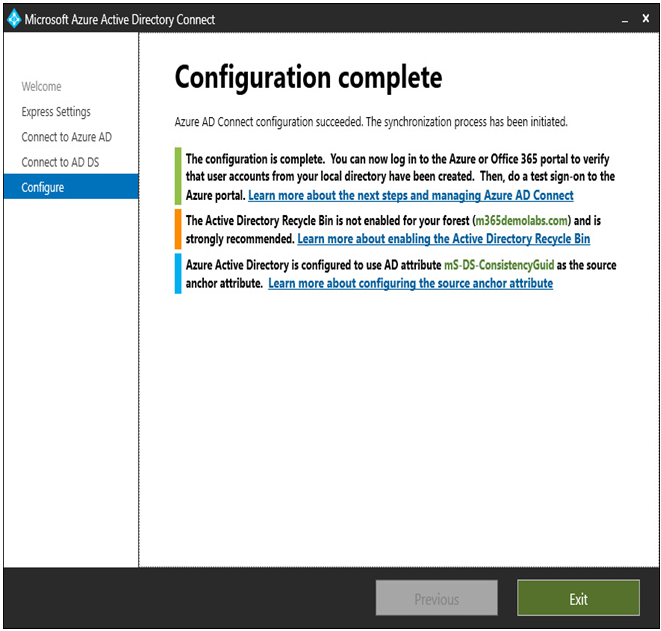
Figure 4.7 – The Azure AD Connect Configuration complete page
If you selected the Start the synchronization process when configuration completes. checkbox, you can review the Azure AD portal to verify that users have been synchronized.